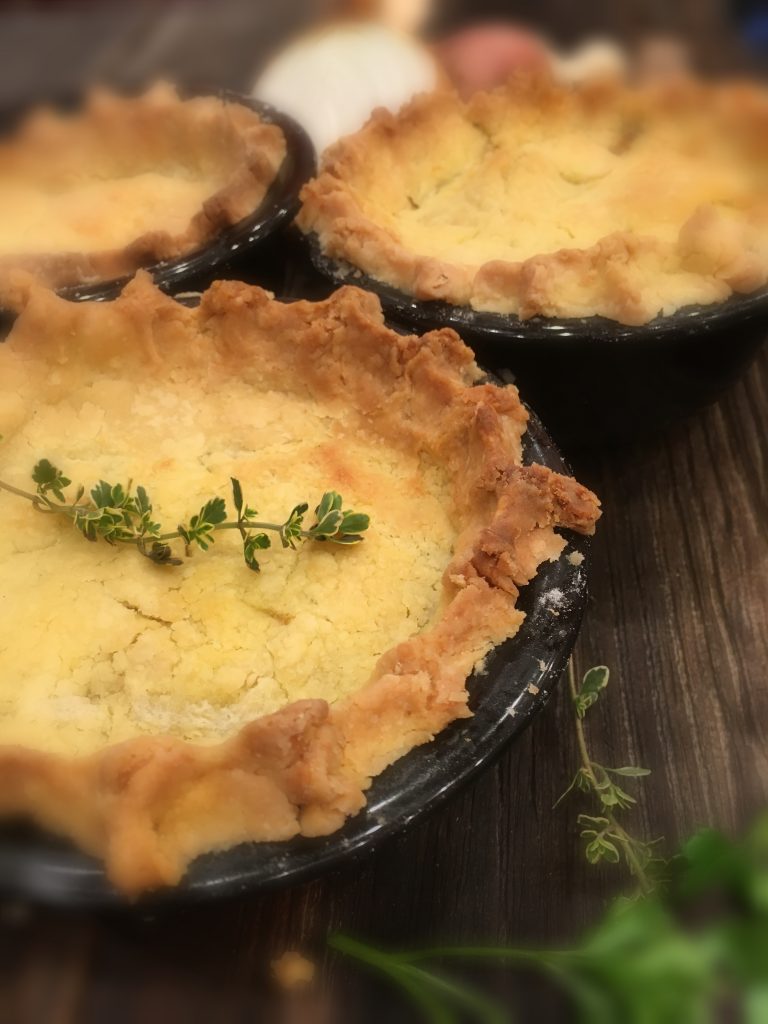
Serves 4
Here’s one of our most popular dishes…Along with a video on how to make it (and wow! The YouTube cover image makes it look like I’m flapping my arms like a chicken…How as propos):
Filling
2 Tbs lard or butter
1 medium potato, diced (super-small)
1 small onion, diced
1 carrot, diced
1 stalk celery, diced
1 cup chopped green beans
1 tsp salt
1/2 tsp ground black pepper
10 oz (2 cups) diced cooked chicken
Gravy
2 oz lard or butter
1/4 cup potato flour
3 cups broth
salt and pepper to taste
2 pie crusts (see gluten-free pie crust recipe, below)
2 ounces butter
4 (8-10 oz) oven-proof ramekins, or 1 deep dish pie dish
Preheat oven to 325 degrees.
Heat fat over medium flame in a 4 quart stock pot. Working in batches, add vegetables in small amounts at a time and sauté until they are pierced easily with a fork. Move them to a large bowl. Season with salt and pepper.
Prepare the gravy: Add the fat to a 2 quart saucepan over medium heat. Once it melts and bubbles, whisk in the potato flour to make a paste. While maintaining the heat, slowly whisk in the broth until it it slightly thinner then your preferred consistency (you can add a little water if you run out of broth).
Grease your oven-proof ramekins or pie dish. Spread diced chicken on the bottom, then fill with the vegetables. Pour in the gravy . If working with ramekins, roll a two ounce portion of crust into a disc for each serving. If working with a pie dish, roll eight ounces into a disc. Lay the dough over the pies. Crimp the edges & pierce the crust a few times to let steam escape. Dot with butter or brush with an egg wash (one egg whisked with 1 tablespoon water and a pinch of salt). Bake at 350 degrees for 35-45 minutes for individual portions, or up to an hour for an entire pie, until the gravy is bubbly.
Gluten Free Pie Crust
There are two secret ingredients that will help you master a gluten-free pie crust. The first is eggs. While a normal crust doesn’t call for them, the eggs here add structure, help to tenderize the dough, help the crust brown in the oven, keep the crust moist, and add a great nutritional bonus (Yippee! Pie for breakfast?!).
The second critical ingredient is LARD. While butter is included in the recipe to improve the overall flavor, half of the fat I’m calling for is lard, because it makes the crust flaky and gives the pie its authentic traditional flavor, but also produces a fluffiness that boosts the pie feasting experience from “nice pie,” to “whoa. That’s the best pie. EVER.” And thankfully, you folks are already well versed on the wholesome goodness of pastured pork lard, so I don’t need to drone on about that here. So here’s the recipe:
Makes 2 crusts
2 1/2 cups all-purpose GF flour blend
2 Tbs granulated sugar
1 tsp xanthan gum
1 tsp salt
3 ounces lard
3 ounces unsalted butter
2 eggs
4 tsp lemon juice
Combine the dry ingredients. Use a pastry cutter to blend in the fats, then stir in the eggs and lemon juice. The dough should hold together. If it is too dry, add 1-2 tablespoons water. Mix until you can form it into a ball. Wrap in plastic and refrigerate for 2 hours, or until ready to use.
I’ve found that it’s best to take the dough out and leave it on the counter for 30-60 minutes before I use it. When I roll it out, I do it on a floured silicone baking mat. This is because the crust is more fragile than a wheat crust, and the baking mat enables me to lift it and turn it into the pie dish.
Another important tip: while I never greased a pie dish in my wheat days, I ALWAYS grease my pie dishes (with lard, of course) before laying in my crust.
Did your crust fall apart when you turned it into the dish? No problem. Use your fingers to gently press it into place in the pan. It will still bake up, hold together and lift from the pan easily.
